Accommodate Faculty User Instructions
Learning Support Services has implemented an accommodation management platform called Accommodate. Your Accommodate portal will house important information about your student’s accommodations. Please follow the step-by-step instructions below to access and navigate your Accommodate portal.
How to Login to Accommodate - Faculty
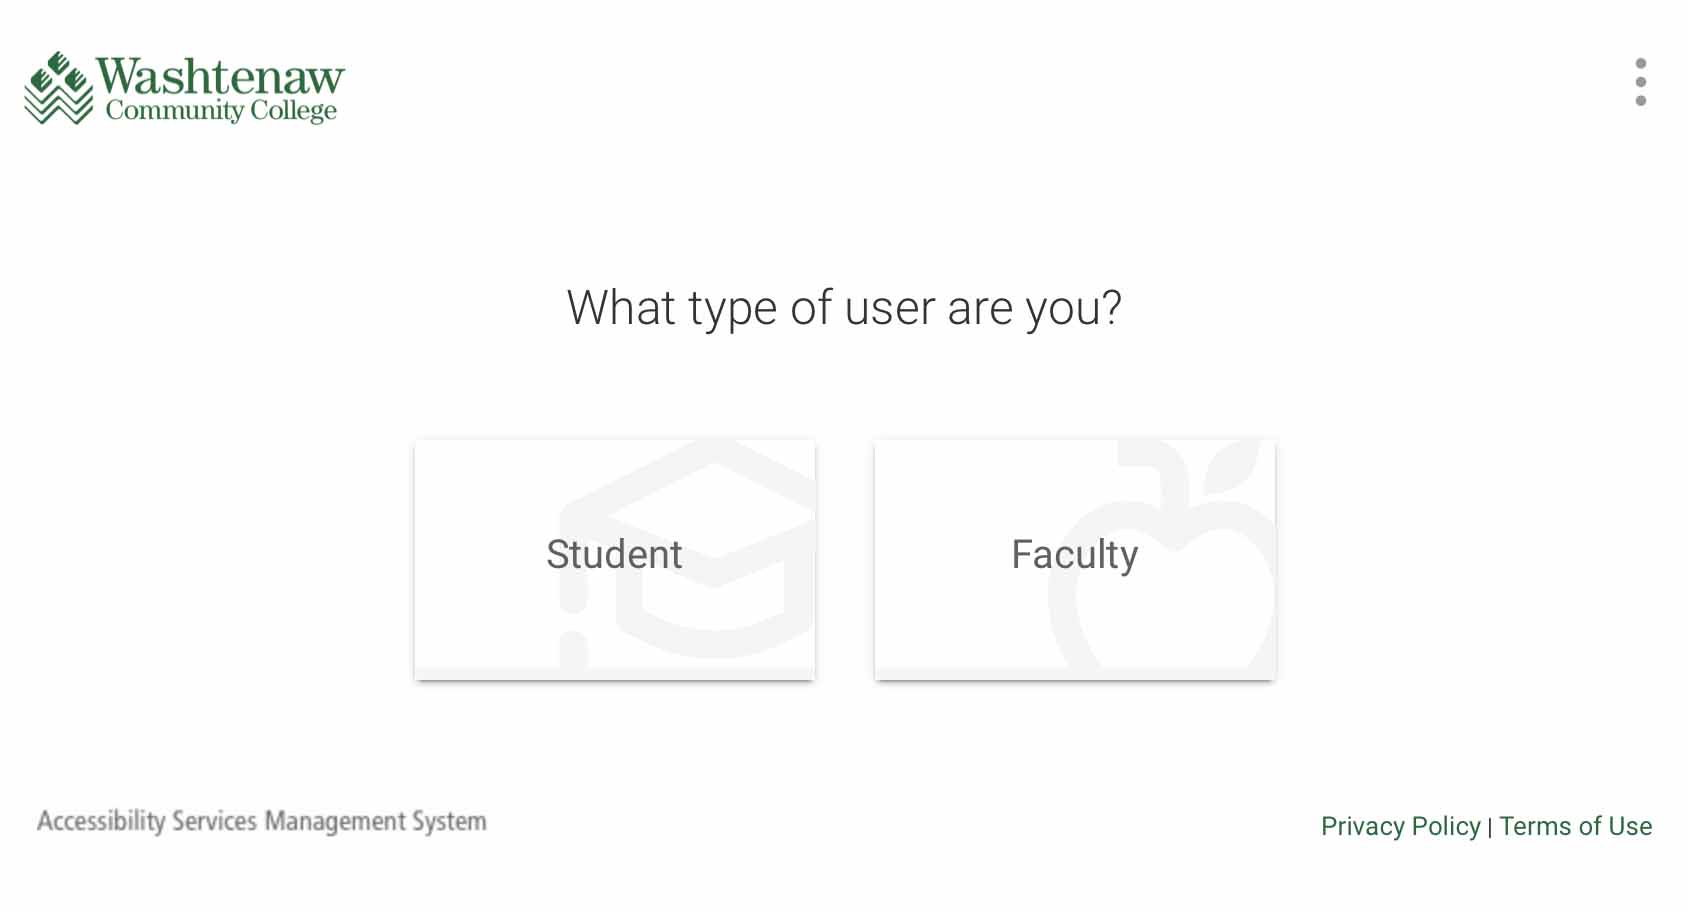
1. Access Accommodate Portal
Note: You will not be able to access Accommodate until you have received an accommodation
request.
2. Select Faculty under What type of user are you?
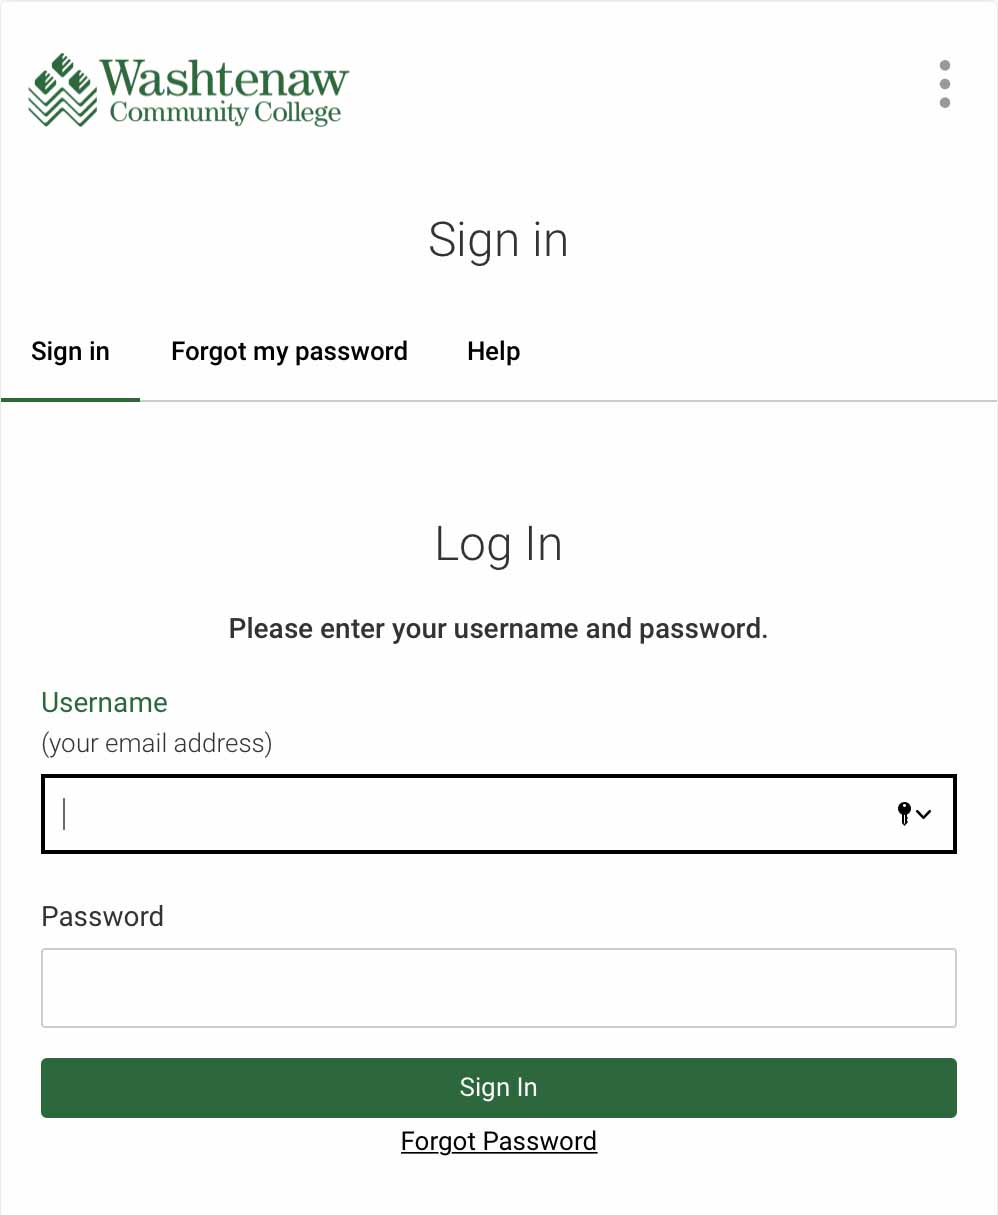
3. Use your WCC credentials to sign in
View Accommodation Letters
1. Receive email notification
If student requests to use accommodations in your course, you will receive an email
asking you to login to Accommodate and view their Accommodation Letter.
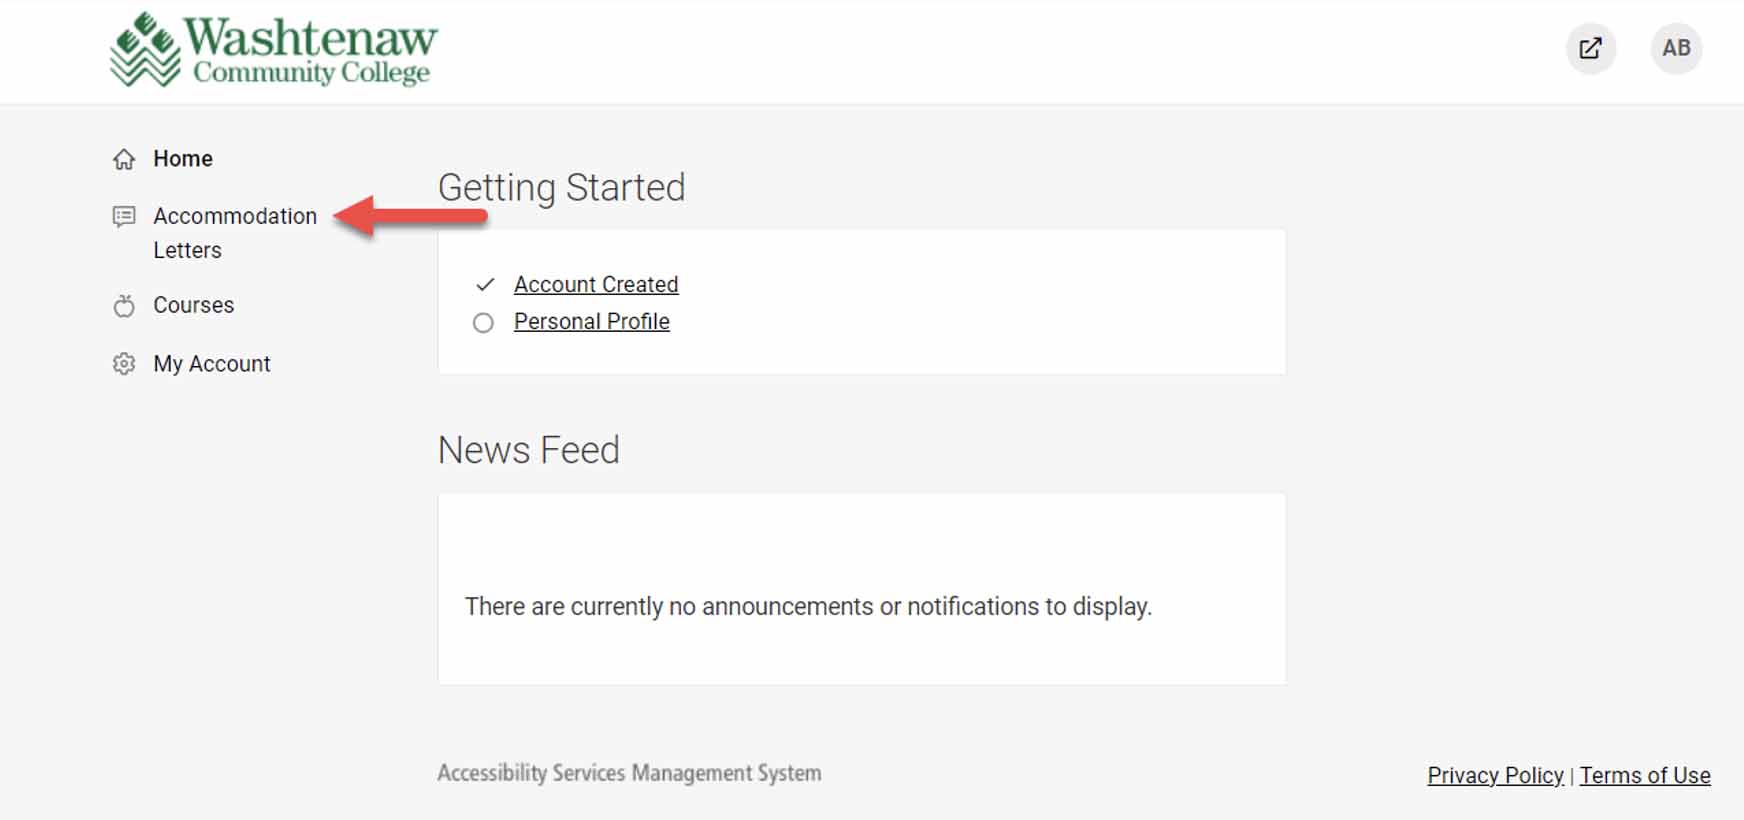
2. Login to Accommodate
You can also view accommodation letters by clicking Accommodation Letters on the home screen of Accommodate.
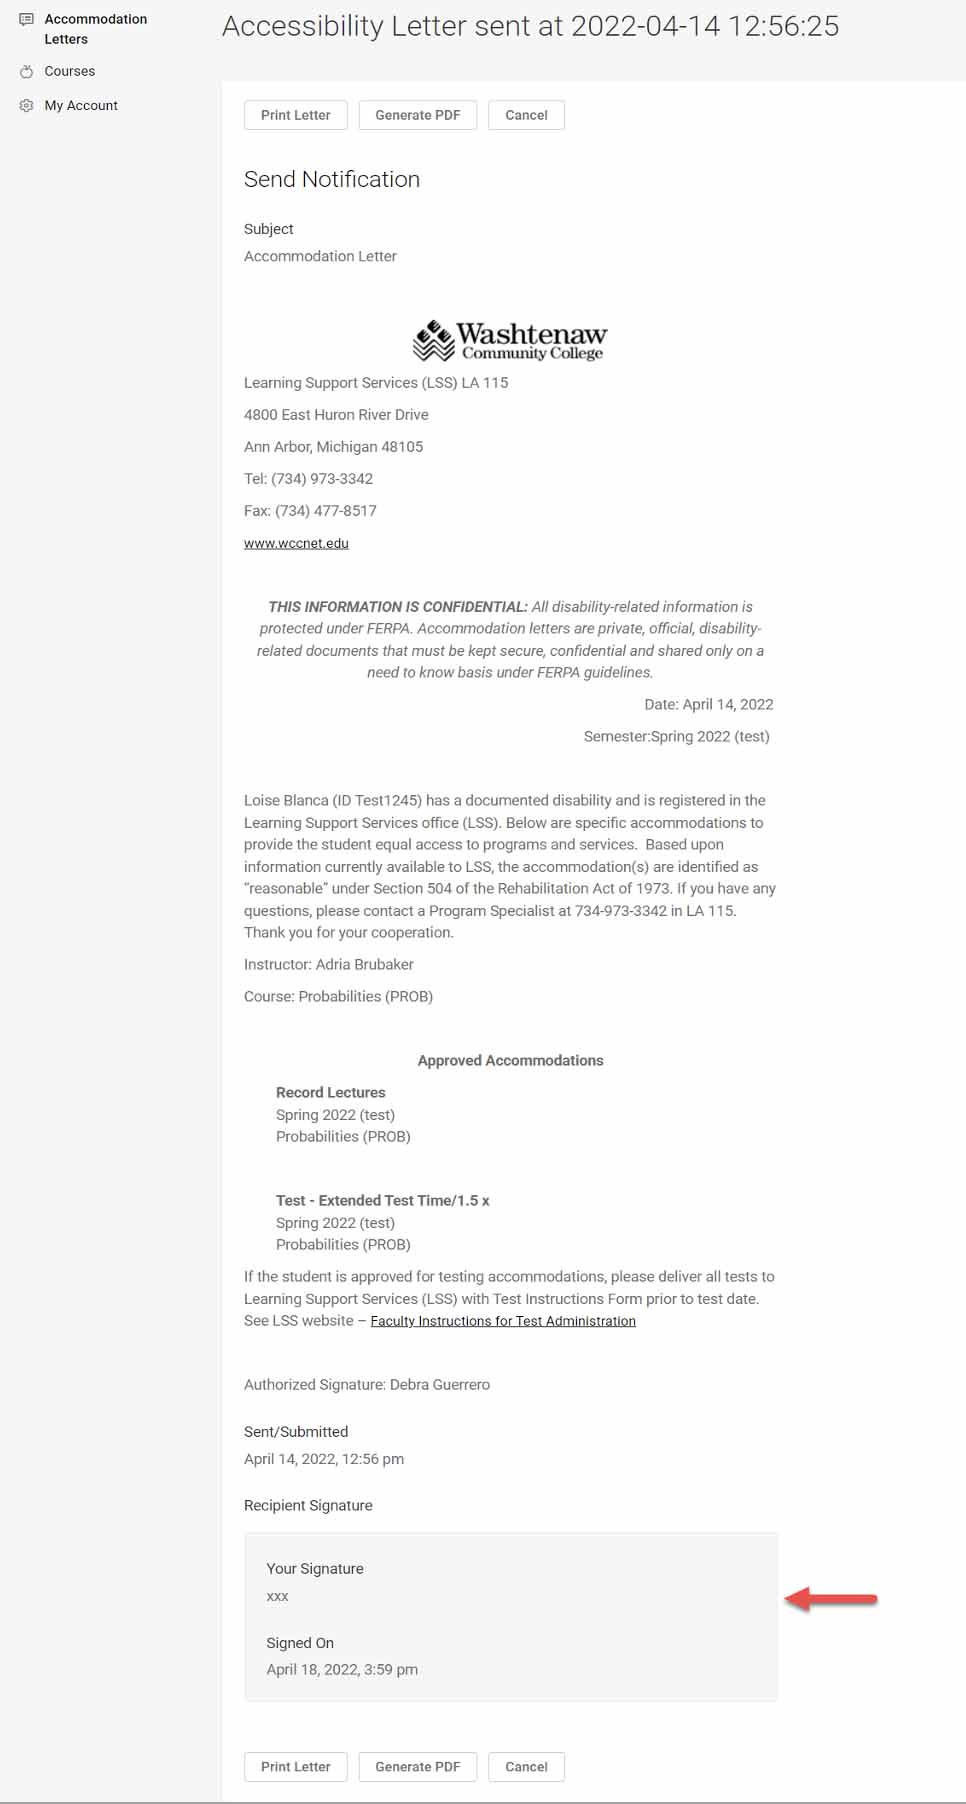
3. Select the letter(s) you wish to view.

4. When viewing the Accommodation Letter, you can scroll to the bottom to sign and
save for your own record.
Note: Your signature only confirms receipt. It is not required to approve accommodations.
The Accommodation Letter will remain viewable in your portal.
Viewing Students Who Have Accommodations in Your Courses
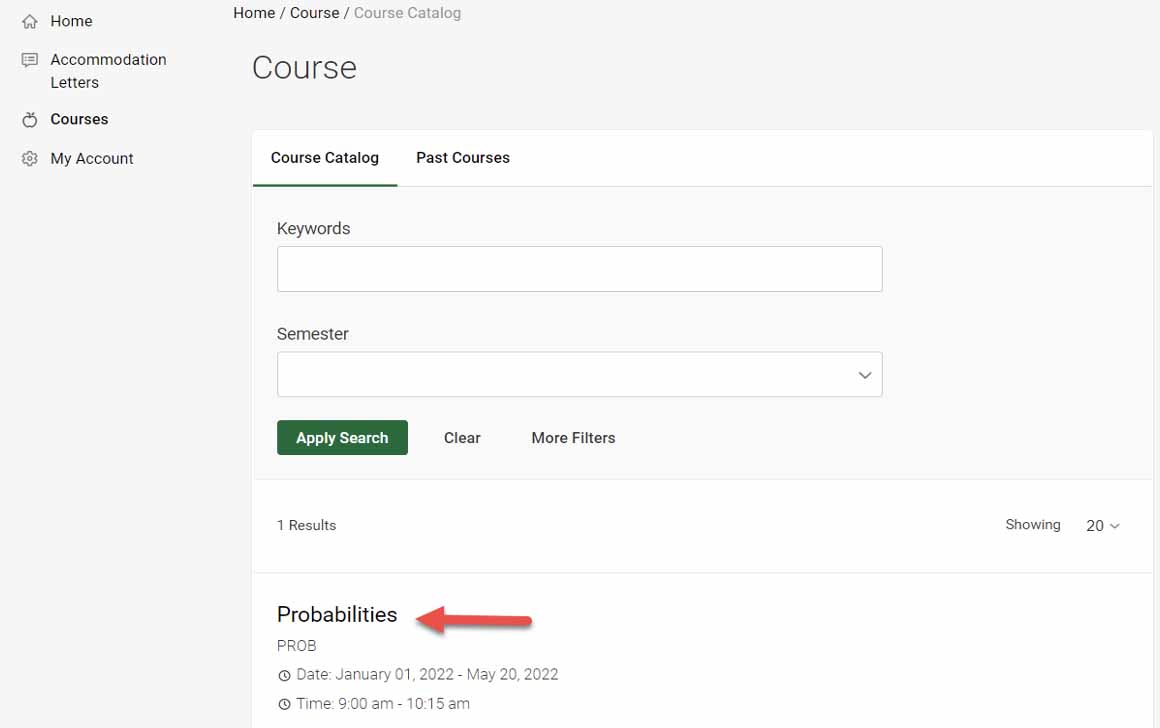
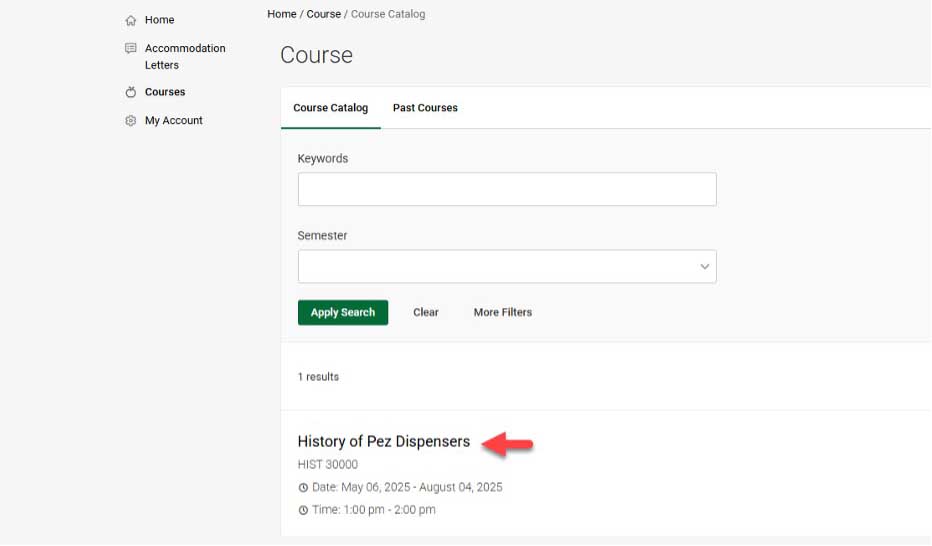
1. Login to Accommodate and select Courses on the left side of the screen

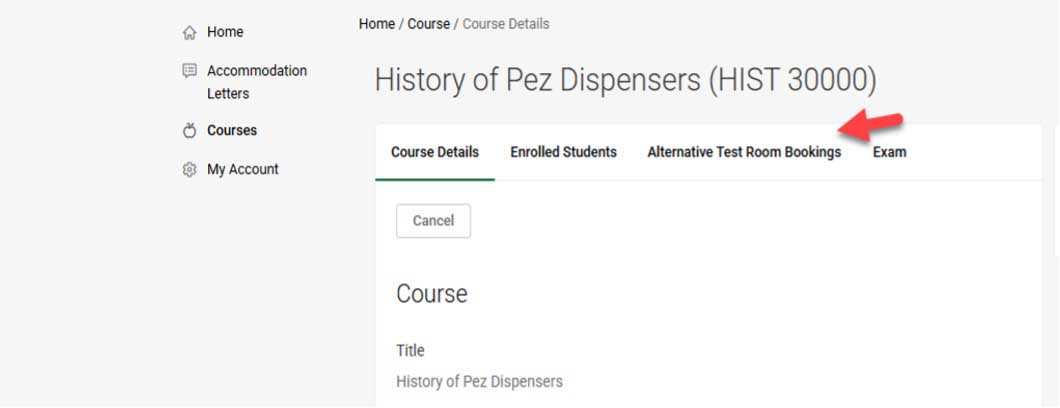
2. View Class List – A list of classes you are currently teaching will appear. Choose the semester you would like to view. To view students who have accommodations by course name, click on course title.
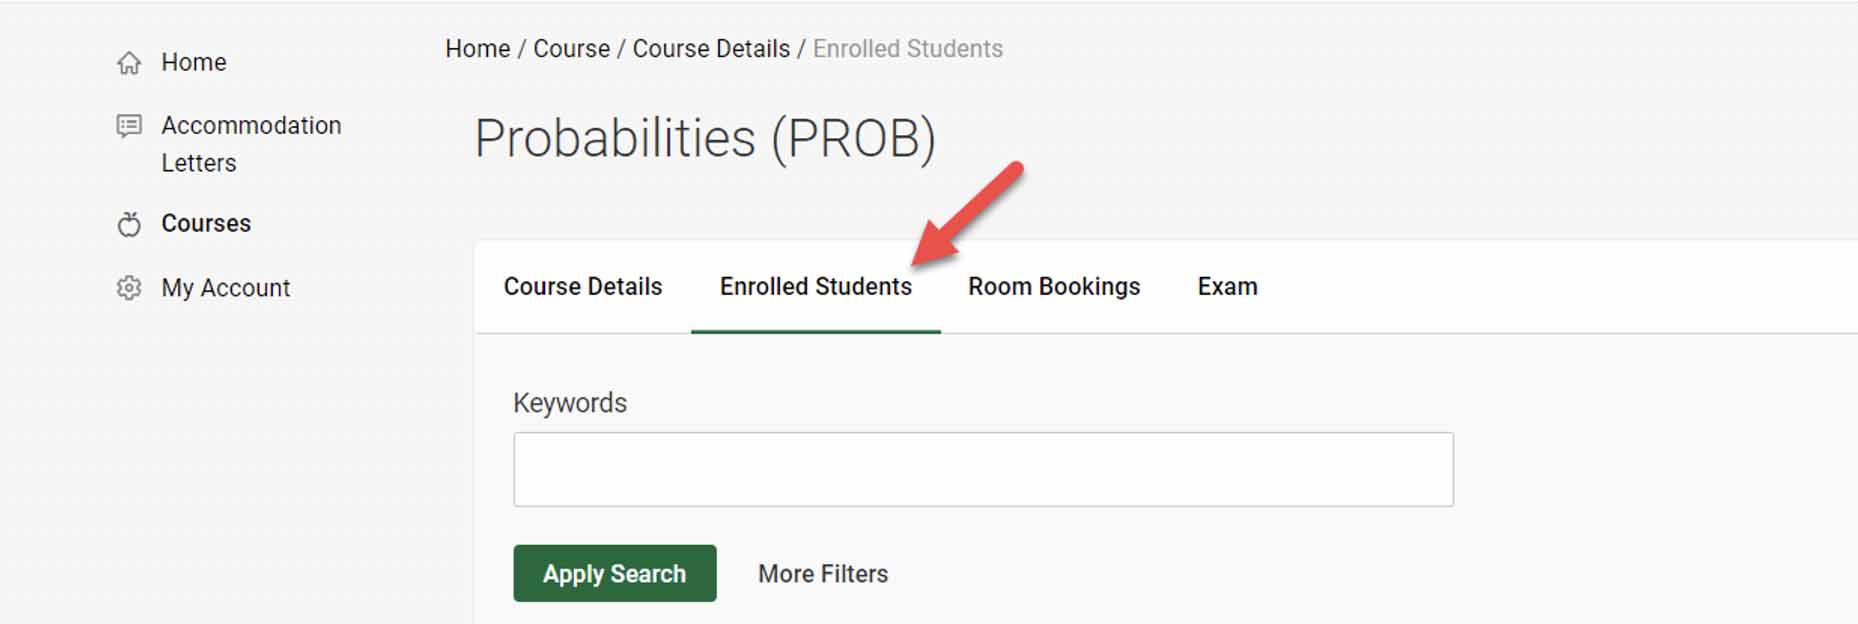
3. Select Enrolled Students. If a student has requested to use their approved accommodations in your class, accommodations will appear under the student name. In this view you will see all enrolled students. To view only enrolled students with accommodations in this course, select Enrolled Students then More Filters Select Yes Under Approved Accommodations to view only students who are approved for accommodations
How to Upload Test Instructions and a Test in Accommodate
Faculty Exam Shortcut
Faculty can now attach a single exam to multiple courses at once, eliminating the need to create the same exam separately for each course. This streamlines exam management for faculty who teach multiple sections of the same course or administer shared exams across courses.
1. Login to Accommodate and select the Faculty button. Use your credentials to log into your Accommodate Portal.
2. A new Add New Exam button is now available on the faculty home page. This provides a quick shortcut to creating an exam without navigating into a specific course. The button is hidden if the faculty member has no current or future course.
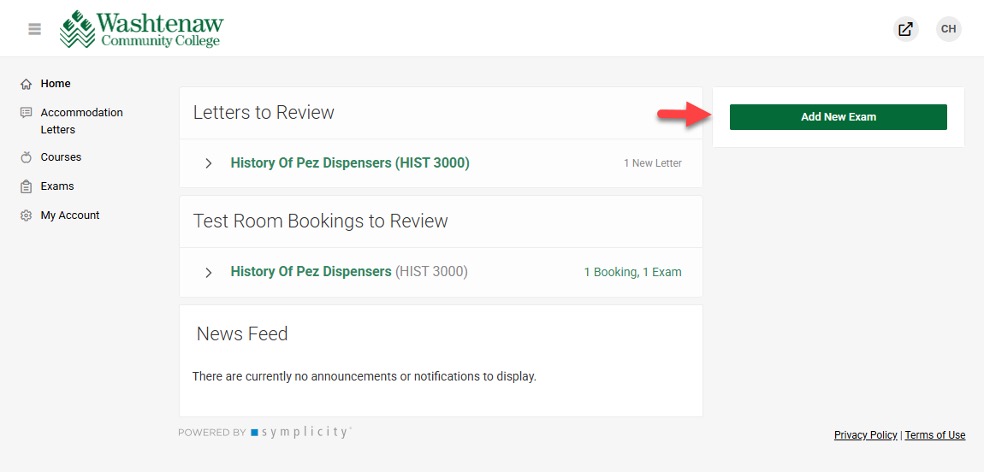
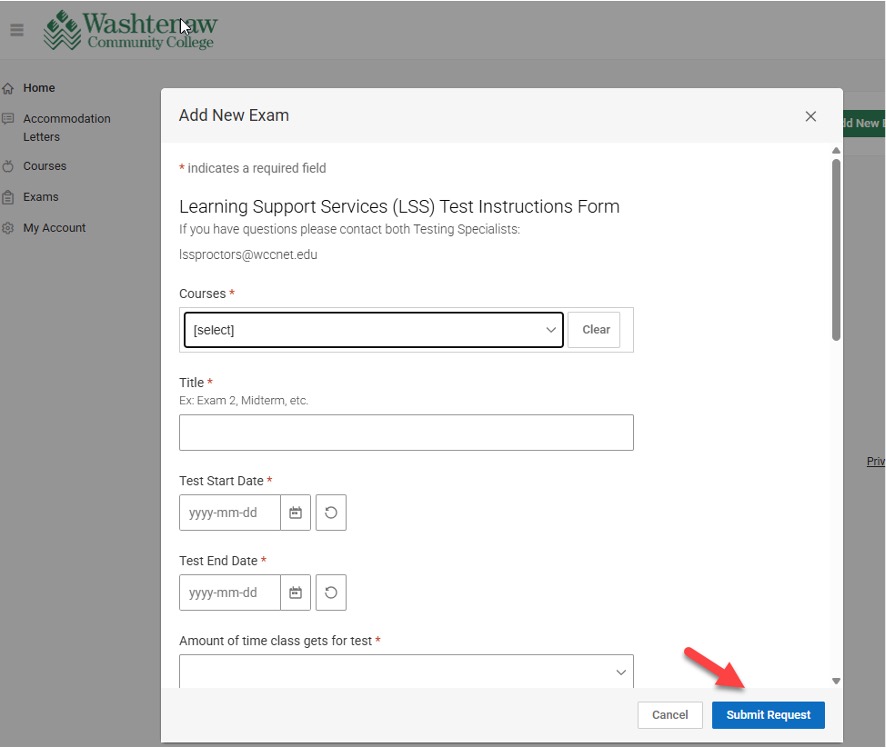
3. Select the Add New Exam button to open a new window to complete the test instructions and upload the test.
4. Select Submit Request.
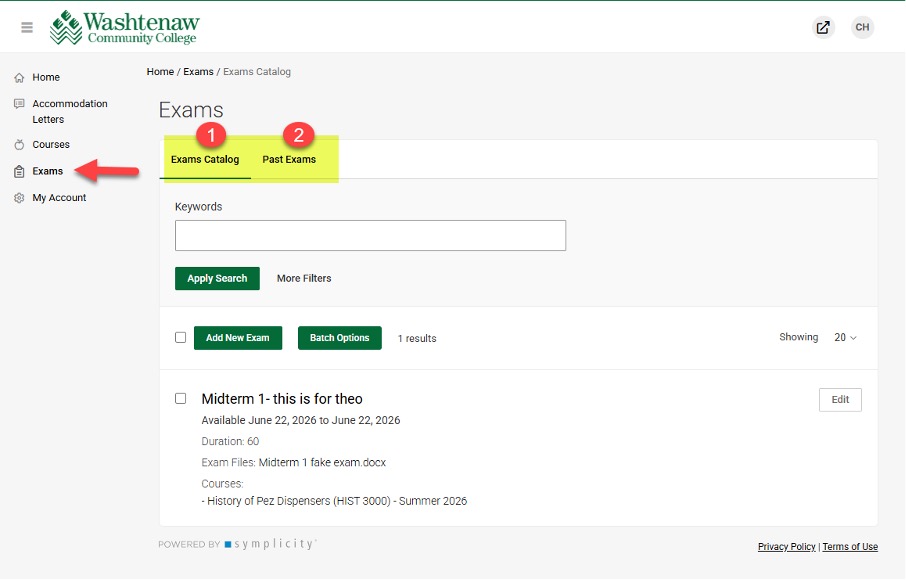
5. A new exams section is in the faculty navigation menu. The information that is displayed here is like the Course>Exams section but includes exams across all courses. The Exam page includes two tabs:
- Exam Catalog: Displays current exams with keywords and course filters. Each item shows the exam title, attached courses and start and end dates. Exams can be viewed or edited directly from the list.
- Past Exams: Displays exams with date in the past. Includes keywords, course and semester filters. The semester filter displays all semesters, including archived semesters.
How to Download a Completed Test in Accommodate
Watch the video or read the instructions below.
1. Login to Accommodate and click Courses which launches a new window
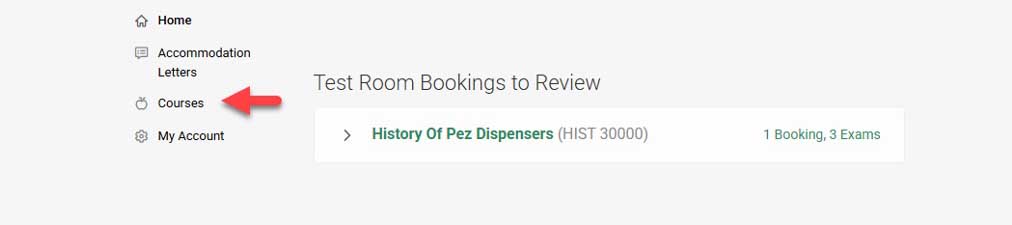
2. Scroll to find your course with the exam and select the course which launches a window with course information
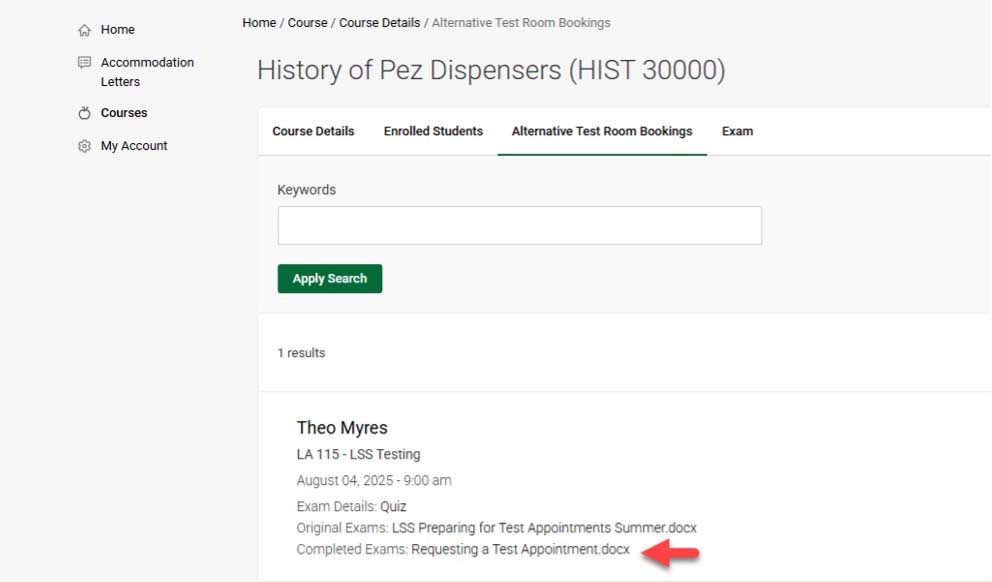
3. Click Alternative Test Room Bookings which launches a window showing students in the course
4. Find the link under the student's name to open the completed exam
- Click the completed exam
- The exam will download to your system